
When I originally started this project, it was my intention to develop a tool for iOS Developers attempting to create App Preview videos for their apps on the App Store. While reading Getting Started with App Previews by Dan Counsell, I realised that to create videos with the correct size, my only option was Final Cut Pro. A £199.99 piece of software. I searched for a free alternative but found nothing, so started to develop my own.
iMovie Support
About a week into this development, Apple released an update and announced that you could now create app previews with iMovie, which is free! This is great news for developers, but it meant I gave up on development of this tool. I did, however, learn a lot about AVFoundation while creating it. One of the most challenging tasks I tackled was how to combine multiple videos. Below I explore how to stitch several .mov files together using AVFoundation.
Getting Started
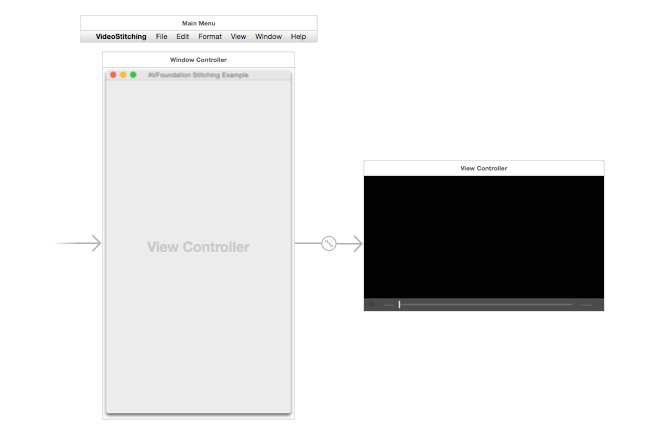
The project is a Mac app, and contains three sample .mov files that I captured on my iPhone 6 using QuickTime. To capture video from your device, just ensure it is plugged in, open QuickTime, then select File -> New Recording, then click record in the new window.
All of the interesting code is inside the ViewController.m class. The UI in the ViewController contains a single AVPlayerView that is linked to a playerView property with an IBOutlet. The UI could be expanded in future to allow the user of the application to import their own videos, rather than using the three bundled with the application and hardcoded into ViewController.m.
First things first
To start, we must build an array that contains AVAsset objects.
AVAsset *tennisAsset = [AVAsset assetWithURL:[NSURL fileURLWithPath:[[NSBundle mainBundle] pathForResource:@"tennisTall" ofType:@"mov"]]];
AVAsset *instagramAsset = [AVAsset assetWithURL:[NSURL fileURLWithPath:[[NSBundle mainBundle] pathForResource:@"instatall" ofType:@"mov"]]];
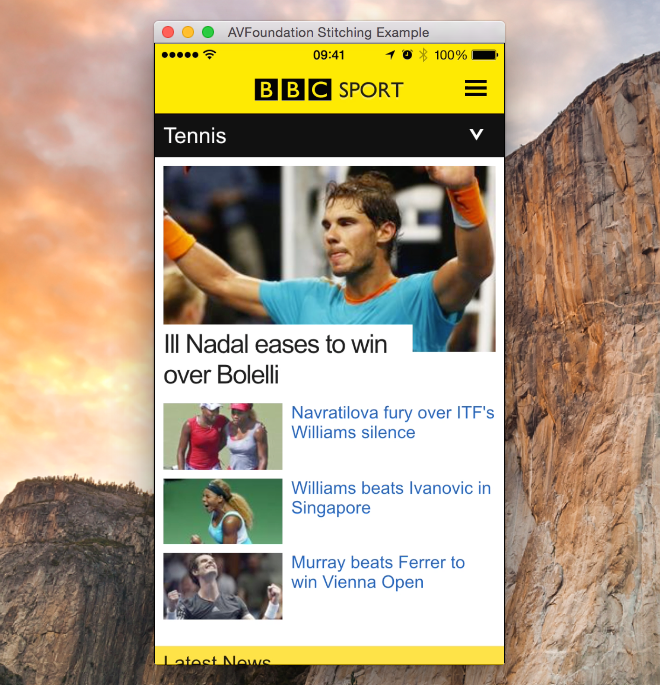
AVAsset *sportAsset = [AVAsset assetWithURL:[NSURL fileURLWithPath:[[NSBundle mainBundle] pathForResource:@"sportTall" ofType:@"mov"]]];
NSArray *assets = @[tennisAsset, instagramAsset, sportAsset]; *Initialising the AVAssets to combine into a single video*
An AVAsset object is AVFoundation’s ‘model for timed audiovisual media’. Basically they just contain information about the three videos to be stitched together. In this sample, the array is hardcoded and just set to be three videos that are embedded in the application, but it could easily be an array of assets that have been loaded from an external source. To keep it simple, lets just use these three for now.
In order to output video into an AVPlayer, an AVComposition is required. An AVComposition combines media data from multiple local file-based sources in a custom temporal arrangement, in order to present or process media data from multiple sources together. In order to add media to the composition, we must create an AVMutableComposition. A composition must also composition tracks. An AVCompositionTrack offers the low-level representation of tracks of AVCompositions, comprising a media type, a track identifier, and an array of AVCompositionTrackSegments, each comprising a URL, and track identifier, and a time mapping. Again, we need mutable versions of these tracks so we can add to them. We need a track for audio and a track for video.
AVMutableComposition *mutableComposition = [AVMutableComposition composition];
AVMutableCompositionTrack *videoCompositionTrack = [mutableComposition addMutableTrackWithMediaType:AVMediaTypeVideo preferredTrackID:kCMPersistentTrackID_Invalid];
AVMutableCompositionTrack *audioCompositionTrack = [mutableComposition addMutableTrackWithMediaType:AVMediaTypeAudio preferredTrackID:kCMPersistentTrackID_Invalid];
Now we have our composition and tracks, we are nearly ready to add content to them. We must keep track of a few variables before we do so however.
CGSize size = CGSizeZero;
We store the size of the video so we can set the correct size on our composition later. We look at the first asset in our assets array with a size and set the size variable to that. This means that the output size of the video will be the same as the size of the first video in the assets array.
CMTime time = kCMTimeZero;
We also store the time in a CMTime variable. CMTime is a rational time value represented as int64/int32. We keep track of the time so we know when to add future assets to the composition. For each asset we add to the composition, we increment time by the length of that asset. This allows us to stitch the videos together. Without it, all of the assets would play together at the start.
NSMutableArray *instructions = [NSMutableArray new];
Finally, we keep a mutable array of instructions. This array is used as the .instructions property on AVMutableVideoComposition, which we will discuss later.
Iterating through the Assets
We are now ready to add content to our composition and tracks by iterating through the assets array.
for (AVAsset *asset in assets) {
We add the video to our videoCompositionTrack first. We do this by asking the asset for for it’s video track.
AVAssetTrack *videoAssetTrack = [asset tracksWithMediaType:AVMediaTypeVideo].firstObject;
This gives us an AVAssetTrack, which we can then add to the AVVideoComposition that we have previously defined.
NSError *videoError;
[videoCompositionTrack insertTimeRange:CMTimeRangeMake(kCMTimeZero, videoAssetTrack.timeRange.duration)
                           ofTrack:videoAssetTrack
                            atTime:time
                             error:&videoError];
if (videoError) {
	NSLog(@"Error - %@", videoError.debugDescription);
}
There are a couple of things to note here. The time range that you pass as the first parameter is created with CMTimeRangeMake(). This is the time range of the asset you want to add. I.e. it is not the time range where you want it to appear in the track. So if you wanted to add the first half of the asset, you’d specify this time range as (0, videoAssetTrack.timeRange.duration / 2). The atTime: parameter is where you specify where you want the asset to appear in the track. So if you wanted it to appear 10 seconds in, you’d specify 10 seconds here. It’s important to understand the distinction here of the time range you are inserting and the time where you want the asset to appear in the track.
The code to add the audio from the asset is exactly the same, apart from the mediaType of the asset.
AVAssetTrack *audioAssetTrack = [asset tracksWithMediaType:AVMediaTypeAudio].firstObject;

NSError *audioError;
[audioCompositionTrack insertTimeRange:CMTimeRangeMake(kCMTimeZero, videoAssetTrack.timeRange.duration)
                               ofTrack:audioAssetTrack
                                atTime:time
                                 error:&audioError];
if (audioError) {
    NSLog(@"Error - %@", audioError.debugDescription);
}
The next step is to create an AVVideoCompositionInstruction. The AVVideoCompositionInstruction represents an operation to be performed by a compositor, and we must set the timeRange property to the timeRange that the asset will be played back at. Note that this is different to the timeRange parameter discussed above when adding the asset track to the composition track. Here we must specify the time that the video starts, and then the duration that it lasts for. You can see how this is done below.
AVMutableVideoCompositionInstruction *videoCompositionInstruction = [AVMutableVideoCompositionInstruction videoCompositionInstruction];
videoCompositionInstruction.timeRange = CMTimeRangeMake(time, assetTrack.timeRange.duration);
videoCompositionInstruction.layerInstructions = @[[AVMutableVideoCompositionLayerInstruction videoCompositionLayerInstructionWithAssetTrack:videoCompositionTrack]];
[instructions addObject:videoCompositionInstruction];
We also instantiate an array containing a AVVideoCompositionLayerInstruction, created with the asset track, and set that to the composition instruction’s layerInstructions property. This specifies how video frames from source tracks should be layered and composed.
The final step in the iteration is to increment the time, and check to see if size has been set, setting it to the video track’s natural size not.
time = CMTimeAdd(time, videoAssetTrack.timeRange.duration);

if (CGSizeEqualToSize(size, CGSizeZero)) {
    size = videoAssetTrack.naturalSize;;
}
Before we can display our assets in a AVPlayerView, we have to create a couple more objects.
AVMutableVideoComposition *mutableVideoComposition = [AVMutableVideoComposition videoComposition];
mutableVideoComposition.instructions = instructions;
mutableVideoComposition.frameDuration = CMTimeMake(1, 30);
mutableVideoComposition.renderSize = size;
The AVVideoComposition describes, for any time in the aggregate time range of its instructions, the number and IDs of video tracks that are to be used in order to produce a composed video frame corresponding to that time. This allows the compositor to display the video on the screen. We give the composition our instructions, set the frameDuration to 30 fps, and set the renderSize to be the size that we generated above from the first asset with a size.
Finally, we join all of this together by creating an AVPlayerItem with our mutableComposition and setting the videoComposition to our new mutableViewComposition we just created above.
AVPlayerItem *pi = [AVPlayerItem playerItemWithAsset:mutableComposition];
pi.videoComposition = mutableVideoComposition;
Our video is finally ready to play now, and we create an AVPlayer to do so. We set this player to the player on our playerView, and then call play so that the video starts immediately.
AVPlayer *player = [AVPlayer playerWithPlayerItem:pi];
self.playerView.player = player;
[self.playerView.player play];
And that’s it! The API can seem a little complicated at first, and you have to be careful with times, ranges, and which tracks you are using where. Once you get the hang of it though, it is a very powerful framework. I believe that this code should work fine on iOS too with a few minor tweaks.
If you are interested in learning more, I recommend starting with the AVFoundationFramework docs from Apple. If you have noticed any issues with the code, please raise an issue or create a pull request over at GitHub.
.jpg)