
Mondo Bank has recently moved into public Beta, sending out 1,000 cards to trial customers each week. I received my Beta card a few days ago, and have been using it ever since. This blog post takes a quick look at the Mondo API and how I used it to automate expense claims!
Challenger Banks
Until very recently, banking in the UK has been a monopoly, with the same small collection of banks occupying the high street. Five years ago Metro Bank received the first new banking licence in over 100 years, since then, more than a dozen new licences have been granted giving rise to the ‘Challenger Bank’. These new banks plan to shake up banking by providing a better, more modern service, whilst the incumbents struggle under the weight of their legacy infrastructure.
One challenger that stands out from the crowd is Mondo, which feels more like a start-up than a bank. Their developers present talks at conferences describing their microservice architecture built using Go, they’ve run hackathons and of course have a public API. They are not letting the fact that they don’t have a banking licence get in the way of testing their product and building their brand!
It’s no wonder that Mondo is very popular among developers.
Mondo Beta
As you’d expect from Mondo, the beta process is all managed within the app. On sign up you are added to a queue, which shows your position in realtime. Sharing the Beta link helps you move up the queue, jumping 4,000 places on each sign up. Once you reach the top thousand, you’re part of the beta and your card is sent out - with some cute in-app animations showing its progress:

Their paper-based correspondence is top-quality too, with your card arriving in a cool purple envelope, with a hashtag encouraging you to share that you’ve #GotMondo:
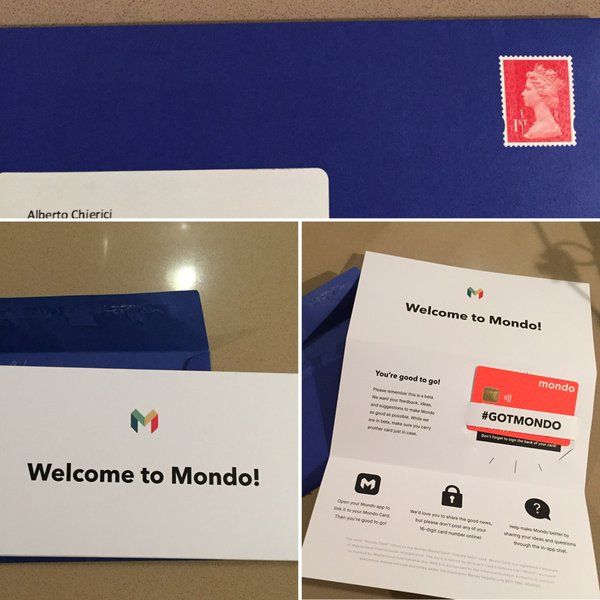
Image courtesy of @ChiericiAlberto
I received my card just before heading off to London for a few days on business, giving me a great opportunity to try it out!
Another motivation for getting hold of a Beta card was to try out their API. I was thinking of perhaps turning my transactions into music, but that idea has already been taken (by the Singing Bank), so instead I thought I’d go for something more mundane and practical, I’d see if I could automate my expense claims process before I returned from London.
OAUTH
The Mondo API is very well documented, furthermore, there is quite an active Slack channel where the Mondo team are on hand to provide assistance. This enabled me to get up and running very quickly.
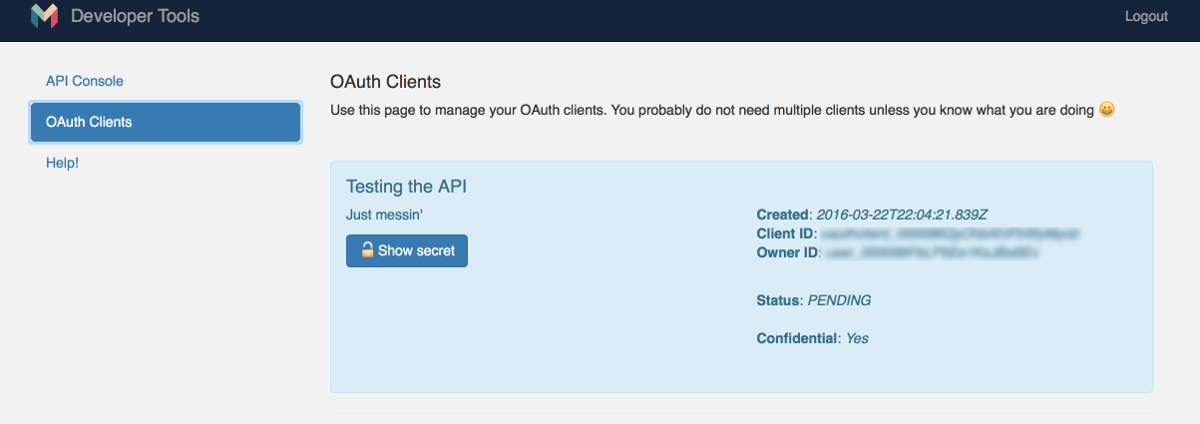
In order to access a customer’s account information, OAuth 2.0 is used to grant your application access. The first step in this process is to create an OAuth client via the Mondo Developer Console. This client will be given an id and a ‘secret’, both of which are used in the login process:
To automate my expenses, I created a node / express app which obtains transaction data from the Mondo API.
Login
In order to protect the client id and secret, these are passed to the node app via the command line, using minimist as the parser. If the user hasn’t already logged in, the first step is to direct them to the Mondo-hosted login page:
const redirectUrl = `http://localhost:${port}/auth`;
const loginUrl = 'https://auth.getmondo.co.uk/?' + querystring.stringify({
  'client_id': argv.clientId,
  'redirect_uri': redirectUrl,
  'response_type': 'code'
});

app.get('/', (request, response) => {
  const accessToken = request.session.token;
  if (!accessToken) {
    response.redirect(loginUrl);
    return;
  }
  ...
});
The login URL contains the client id, together with a redirect URL, which in this case is simply localhost because I haven’t deployed this app to a live environment yet. This directs the user to the following login page:
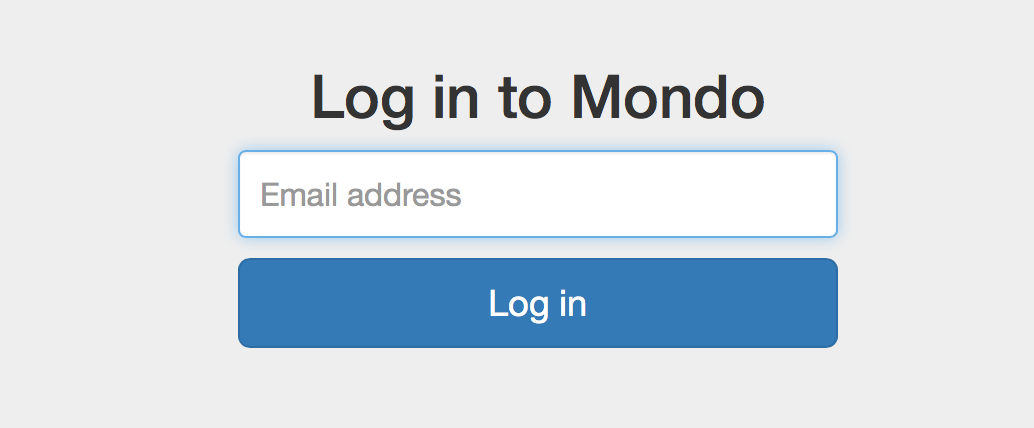
Once they enter their email address, they will be a sent an email which contains a link that redirects them back to your application. The redirect querystring contains a code property which is a temporary authorization code which the app next exchanges for an access token.
The code below uses the request-promise library, which provides a simplified HTTP client with a promise API.
The following makes the authorization token request, which provides the client id and redirect URL once again, but this time also adds the client secret and the authorization code.
function authTokenRequest(code) {
  return {
    method: 'POST',
    uri: 'https://api.getmondo.co.uk/oauth2/token',
    form: {
      'grant_type': 'authorization_code',
      'client_id': argv.clientId,
      'client_secret': argv.clientSecret,
      'redirect_uri': redirectUrl,
      'code': code
    },
    json: true
  };
}

app.get('/auth', (request, response) => {
  rp(authTokenRequest(request.query.code))
    .then((body) => {
      if (body.error) {
        console.error(body);
      } else {
        console.log('Access token returned:', body.access_token);
        request.session.token = body.access_token;
        response.redirect('/');
      }
    })
    .error((error) => {
      console.error(error);
    });
});
The successful response to this request contains the access token, which this application stores in the session, completing the authentication process.
Accessing Transactions
Subsequent requests need to have an Authorization header that provides the access token. With the current API you can access an account list, balance and transaction items. You can also provide data that is persisted, including transaction annotations, attachments and webhooks. The current API already provides a lot of scope for creating interesting integrations, and I’m sure it will continue to grow.
For the purposes of automating expenses I simply want to obtain my account identifier, followed by the account balance and transactions. In order to coordinate the requests I used the popular Q ‘promise’ library.
The Mondo app automatically categorises purchases based on merchant data, and does include an ‘expenses’ category which you can manually add transaction to. However, I wanted to keep the automatic categorisation, so instead opted to mark transactions with an #expenses keyword in the notes.
The code below is really quite self explanatory, it performs the various API requests, assembling a data object which contains the aggregated results, which are provided to the response.render method. This uses a simple ejs template to render the transactions as HTML.
function balanceRequest(accessToken, accountId) {
  return {
    uri: 'https://api.getmondo.co.uk/balance',
    headers: {
      'Authorization': 'Bearer ' + accessToken
    },
    qs: {
      'account_id': accountId
    },
    json: true
  };
}

function listTransactionsRequest(accessToken, accountId) {
  return {
    uri: 'https://api.getmondo.co.uk/transactions',
    headers: {
      'Authorization': 'Bearer ' + accessToken
    },
    qs: {
      'account_id': accountId,
      'expand[]': 'merchant'
    },
    json: true
  };
}

app.get('/', (request, response) => {
  const accessToken = request.session.token;
  if (!accessToken) {
    response.redirect(loginUrl);
    return;
  }

  // request the user accounts
  rp(accountsRequest(accessToken))
    .then(accountsResponse => {
      const account = accountsResponse.accounts[0];
      // request both the balance and recent transactions
      return Q.all([
        rp(balanceRequest(accessToken, account.id)),
        rp(listTransactionsRequest(accessToken, account.id))
      ])
      .then(mondoData => {
        // filter for expenses and render
        const data = {
          account: account,
          balance: mondoData[0],
          transactions: mondoData[1].transactions.filter(t => t.merchant)
            .filter(t => t.notes.indexOf('#expenses') !== -1)
        };
        response.render('index', data);
      });
    })
    .error((error) => console.error(error));
});
I’ll not bore you with the details of the template, it’s pretty straightforward. Here’s the results of my expenses for that two-day trip to London:
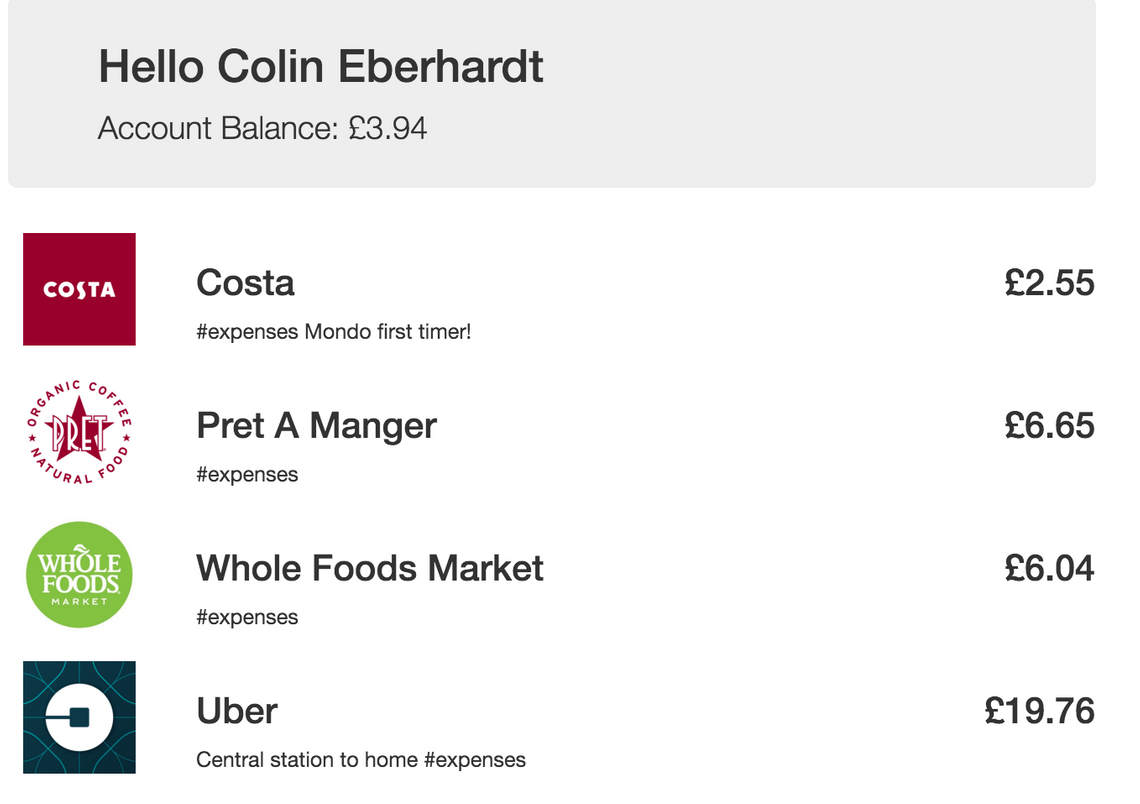
I also created a ‘view’ which renders the data as CSV so that it can be pasted directly into our company’s Excel-based expenses sheets.
The transactions request in the code above includes expand[]=merchant within the querystring causing the merchant property in the response to be expanded for each transaction. This includes a wealth of information - this is the purchase I made at Pret A Manger (with a few field values removed):
{
  "id": "-- REMOVED --",
  "created": "2016-03-23T14:15:00.933Z",
  "description": "PRET A MANGER          LONDON        GBR",
  "amount": -665,
  "currency": "GBP",
  "merchant": {
    "id": "merch_000094LiioA5LJwSOFRV5t",
    "group_id": "grp_000092JYpwxZY8LdQOp2rx",
    "created": "2016-01-20T13:30:57.5Z",
    "name": "Pret A Manger",
    "logo": "https://mondo-logo-cache.appspot.com/twitter/pret/?size=large",
    "emoji": "☕️",
    "category": "eating_out",
    "online": false,
    "address": {
      "short_formatted": "Unit 320 Cabot Place, London E14 4QS",
      "formatted": "Unit 320 Cabot Place, London E14 4QS, United Kingdom",
      "address": "Unit 320 Cabot Place",
      "city": "London",
      "region": "Greater London",
      "country": "GBR",
      "postcode": "E14 4QS",
      "latitude": 51.50498923113124,
      "longitude": -0.02021243015260814,
      "zoom_level": 17,
      "approximate": false
    },
    "updated": "2016-01-29T14:47:29.061Z",
    "metadata": {
      "created_for_merchant": "merch_000092JYpwwVc56LpI9HX7",
      "created_for_transaction": "tx_000094LiinvYDLhbJgUVhB",
      "foursquare_category": "Sandwich Place",
      "foursquare_category_icon": "https://ss3.4sqi.net/img/categories_v2/food/deli_88.png",
      "foursquare_id": "4b83d97af964a520751331e3",
      "foursquare_website": "https://plus.google.com/u/0/b/105098300116703889623/105098300116703889623",
      "google_places_icon": "https://maps.gstatic.com/mapfiles/place_api/icons/restaurant-71.png",
      "google_places_id": "ChIJL7V5eLcCdkgRSaoQArzp6s4",
      "google_places_name": "Pret A Manger",
      "suggested_name": "Pret A Manger",
      "suggested_tags": "#food",
      "twitter_id": "pret",
      "website": "https://www.pret.co.uk/en-gb/"
    }
  },
  "notes": "#expenses",
  "metadata": {
    "notes": "#expenses"
  },
  "account_balance": 9070,
  "attachments": [
    {
      "created": "2016-03-23T14:15:50.139Z",
      "external_id": "-- REMOVED --",
      "file_type": "image/jpeg",
      "file_url": "https://s3-eu-west-1.amazonaws.com/mondo-production-image-uploads/user_000096FbLP5Ee1KxJBxBEv/hUnBLdmKeDvFTpKsLsHQ-89C70FAD-0342-407E-B4F9-49E61D609195.jpg",
      "id": "-- REMOVED --",
      "type": "image/jpeg",
      "url": "https://s3-eu-west-1.amazonaws.com/mondo-production-image-uploads/user_000096FbLP5Ee1KxJBxBEv/hUnBLdmKeDvFTpKsLsHQ-89C70FAD-0342-407E-B4F9-49E61D609195.jpg",
      "user_id": "-- REMOVED --"
    }
  ],
  "category": "eating_out",
  "is_load": false,
  "settled": "2016-03-24T08:11:17.423Z",
  "local_amount": -665,
  "local_currency": "GBP",
  "updated": "2016-03-24T10:54:40.327Z",
  "account_id": "-- REMOVED --",
  "counterparty": {},
  "scheme": "gps_mastercard",
  "dedupe_id": "-- REMOVED --",
  "originator": false
}
You not only get address, logo, geolocation and category, but also Twitter, Foursquare and Google identifiers. You can also add attachments to purchases via the app, which are also included in this metadata. In this case, I’ve photographed receipts so that I can add them to the expense claim.
Conclusions
The Mondo developer and user experience are going to prove a real hit for developers. If they manage to continue this innovative and friendly feel once they become a ‘proper’ bank they’ll be on to a winner. I’m happy to report that I managed to create my expenses app in just a few hours on the train back home to Newcastle, with my first automated claim ready to submit.
Now all I need to do is persuade our finance team to expose an API, then I’ll be able to register a webhook with Mondo that ‘pushes’ my tagged transactions, allowing me to submit expenses in real time!
You can find the code for my example app on GitHub.
Regards, Colin E.

