
Inspired by Colin’s article on building an expenses app with the Mondo API, I wanted to create something to make use of the webhook API which fires in real-time (ish) whenever a transaction happens. In this post I’ll cover subscribing to the Mondo webhook, creating the glue code as an AWS Lambda and pushing pins into the Pebble Timeline REST API.
Introduction
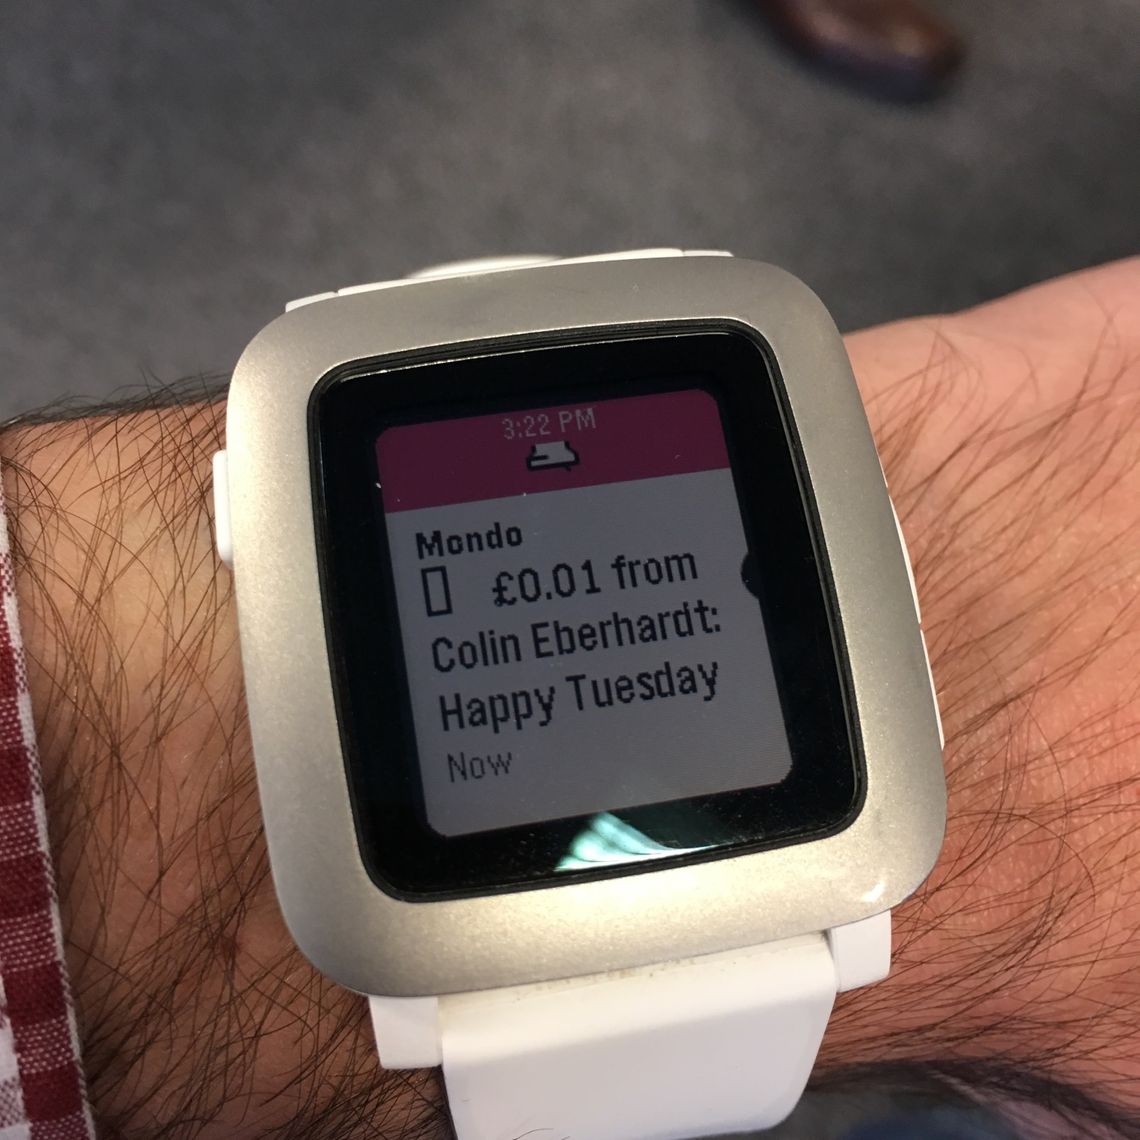
My Pebble Time watch already shows a notification when a transaction occurs (this is just the default behaviour of the Pebble reflecting the notifications shown on my phone by the Mondo app). Unfortunately as soon as I dismiss the notification (or ignore it for a few minutes) it disappears never to be seen again.
As the Pebble has a timeline based UI, I figured it could be useful to add the transactions to the timeline. That way if I wanted to recall a transaction for whatever reason, I could just navigate back through the timeline to see the details rather than have to dig my phone out.
Mondo fire a webhook whenever a transaction is created and Pebble provide a REST API for pushing timeline pins (entries), so this post is going to cover wiring the two together. Knowing that the code won’t actually have to do very much, I thought it was a good excuse to try out AWS Lambda functions.
Creating the lambda
The AWS Lambda service provides a runtime environment for functions. Instead of hosting an application containing a set of functions, each piece of functionality can be hosted separately. These functions can then be wired up to various AWS event sources e.g. API gateway requests, DynamoDB triggers, etc.. One advantage of such a setup is that you don’t need to have to spin up a whole app to service an individual request, so hosting can be incredibly cheap and resilient to failure (as a new instance is nominally spun up for each request).
Rather than work against the bare metal AWS Lambda API, I’ve opted to use Small Wins’ lambda wrapper to remove some of the boilerplate. Starting from a blank Node.js project (npm init), we need to add the following configuration to our package.json -
"scripts": {
  "create": "AWS_REGION=eu-central-1 AWS_PROFILE=default lambda-create",
  "list": "AWS_REGION=eu-central-1 AWS_PROFILE=default lambda-list",
  "deploy": "AWS_REGION=eu-central-1 AWS_PROFILE=default lambda-deploy",
  "invoke": "AWS_REGION=eu-central-1 AWS_PROFILE=default lambda-invoke",
  "local": "AWS_REGION=eu-central-1 AWS_PROFILE=default lambda-local",
  "deps": "AWS_REGION=eu-central-1 AWS_PROFILE=default lambda-deps",
  "log": "AWS_REGION=eu-central-1 AWS_PROFILE=default lambda-log"
},
"devDependencies": {
  "@smallwins/lambda": "^4.21.0"
}
Whilst slightly controversial in approach, the above configuration provides scripts (npm run xxx) to make working with AWS Lambdas easier. Just ignore the environment variables for now, we’ll come back to why we need them. To create the function itself we use -
npm run create mondo-pebble-webhookN.B. in this case we’re not following the conventions laid out by the project because we’re only going to have one function. If you’re going to have too many then it might make more sense to follow the src/lambdas/xxx convention.
This will create the following folder structure -
- mondo-pebble-webhook
  |- index.js            <- The actual code goes here
  |- package.json
  \ test.js
- package.json
The actual code is split into two parts, validating the input arguments and firing off the Pebble Timeline API call. The validation code is pretty simple, making use of Small Wins’ validation library -
function valid (event, callback) {
  var schema = {
    'query': { required: true, type: Object },
    'query.token': { required: true, type: String },
    'body': { required: true, type: Object },
    'body.data': { required: true, type: Object },
    'body.data.amount': { required: true, type: Number },
    'body.data.created': { required: true, type: String },
    'body.data.currency': { required: true, type: String },
    'body.data.description': { required: true, type: String },
    'body.data.id': { required: true, type: String },
    'body.data.notes': { required: true, type: String }
  }
  validate(event, schema, callback)
}
We’ll take the Pebble Timeline API token in as a query string parameter and receive the transaction details in the body of the request. Using the data model to create the timeline pin isn’t much harder using the pebble-api package -
function fn (event, callback) {
var timeline = new Timeline()
var pin = new Timeline.Pin({
id: event.body.data.id,
time: new Date(event.body.data.created),
layout: {
type: Timeline.Pin.LayoutType.GENERIC_PIN,
tinyIcon: Timeline.Pin.Icon.NOTIFICATION_FLAG,
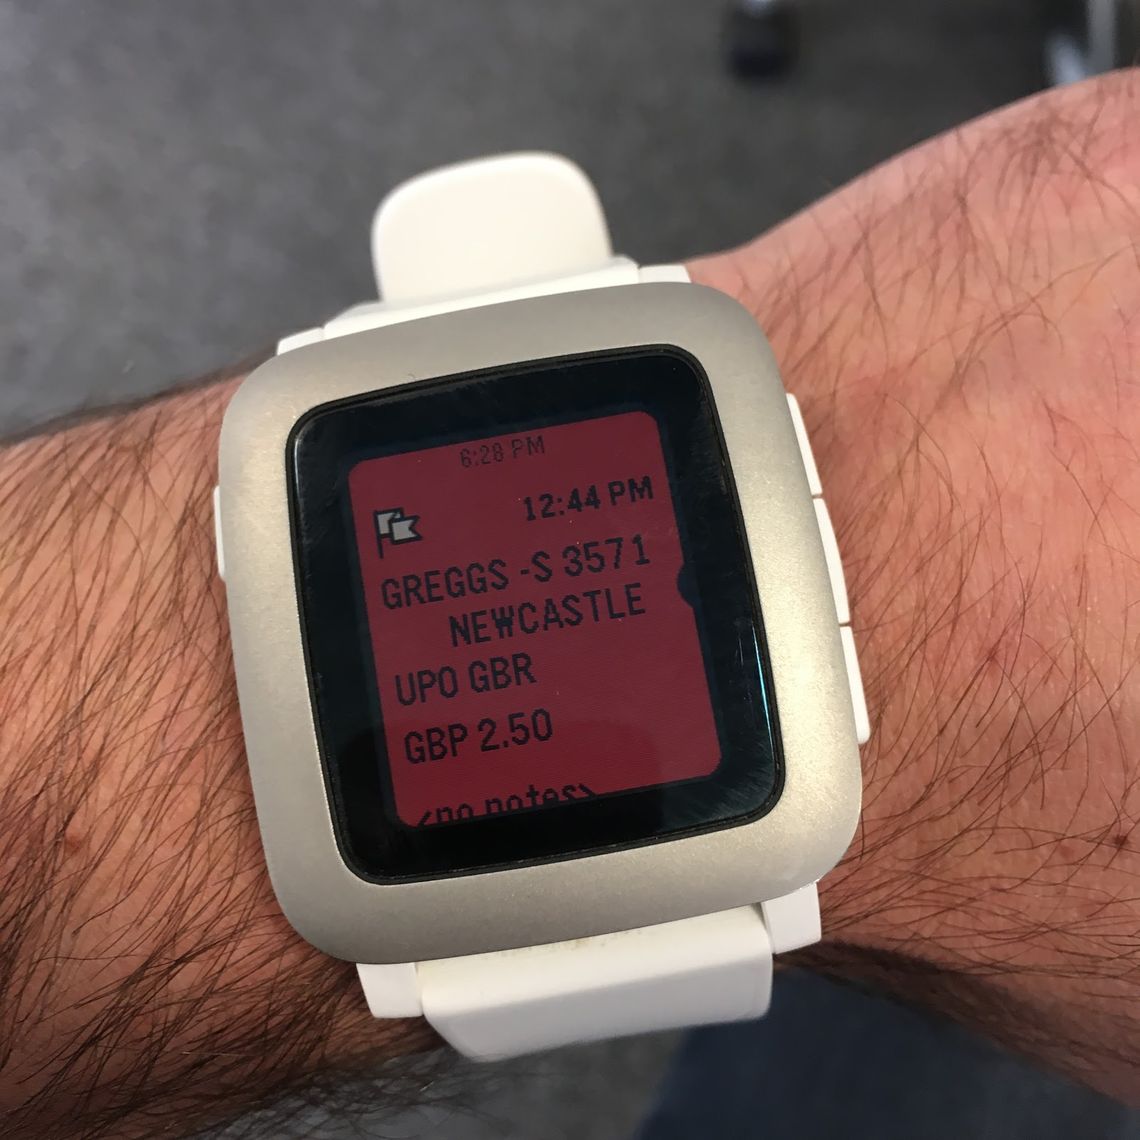
title: event.body.data.description,
subtitle: event.body.data.currency + ' ' + (-event.body.data.amount / 100).toFixed(2),
body: event.body.data.notes || '<no notes>'
}
})
timeline.sendUserPin(event.query.token, pin, function (err) {
callback(err, event)
})
}Finally we bring the two parts together with a call to the library -
exports.handler = lambda(valid, fn)Deploying the lambda
Now that we’ve got the business logic sorted, it’s just a case of deploying it. This was by far the hardest part for me, but if you’re familiar with AWS then you’ll probably have an easier ride.
First up, we need to configure the credentials we’ll use for communicating with AWS when we deploy the code. Remember the environment variables we specified earlier, well they control which profile the aws-sdk package uses to lookup the credentials and which AWS region it will attempt to deploy to. In my case I created a default profile for my credentials (obtained from the AWS IAM console) in ~/.aws/credentials -
[default]
aws_access_key_id = KEY_ID
aws_secret_access_key = ACCESS_KEY
Additionally, we need to configure the credentials AWS will use to run the code. We need to create a new role (again in the AWS IAM console), associate it with the AWSLambdaBasicExecutionRole role and configure it’s role ARN in the lambda’s package.json -
"lambda": {
  "role": "arn:aws:iam::xxxxxxxxxxx:role/lambda_basic_execution"
}
Then with that configured, we can use another @smallwins/lambda utility to actually push the code -
npm run deploy mondo-pebble-webhook prodThe first argument is the path to the folder and the second is an alias. The alias is best thought of as a floating version pointer just like a branch in git, in this case it doesn’t really matter what value we pick for it.
With the code pushed up to the cloud, we need to jump into the AWS Lambda console to configure the runtime environment. By default AWS runs Node.js 0.10.0, so we’ll quickly bump that to 4.3 in the function configuration section of the AWS console (Lambda->Functions->mondo-pebble-webhook->Configuration->Runtime). Make sure you click the incredibly well hidden Save button in the top left!
Unfortunately that’s not the end of it… Whilst the code now exists in AWS in a runnable state we need to associate it with an API endpoint in order to be able to actually call it. We can kick off the wizard using the Add API endpoint button (Lambda->Functions->mondo-pebble-webhook->API endpoints) and specify the following configuration -
- API endpoint type:
API Gateway - API name:
mondo-pebble-webhook - Resource name:
/webhook - Method:
POST - Deployment stage:
prod - Security:
open
Even that’s not all… With the endpoint created we now need to go in and map the incoming HTTP request on to the data structure expected by the function. This was a big surprise to me and I wasted a lot of time debugging it! From the @smallwins/lambda documentation I’d expected this to be pre-configured state. However, by default only the body of the request is passed through to the function…
We’ll configure the mapping using the Add mapping template button (API Gateway->APIs->mondo-pebble-webhook->Resources->/webhook->POST->Integration Request->Body Mapping Templates). We’re expecting JSON, so set the Content-Type to application/json and set the template to be -
{
  "body": $input.json('$'),
  "query": {
    #foreach($param in $input.params().querystring.keySet())
    "$param": "$util.escapeJavaScript($input.params().querystring.get($param))"#if($foreach.hasNext),#end
    #end
  }
}
You can optionally configure the gateway to know about the token query string parameter, which can make it easier to use the testing features built in. Use the Add query string button (API Gateway->APIs->mondo-pebble-webhook->Resources->/webhook->POST->Method Request->URL Query String Parameters) making sure not to tick the cached checkbox as the POST requests aren’t idempotent.
You can test that everything is working as expected by clicking the TEST button (API Gateway->APIs->mondo-pebble-webhook->Resources->/webhook->POST). Add a valid Pebble timeline token into the token query string parameter box and set the Request Body to the following (taken from the Mondo API docs) -
{"type":"transaction.created","data":{"account_id":"acc_00008gju41AHyfLUzBUk8A","amount":-350,"created":"2015-09-04T14:28:40Z","currency":"GBP","description":"Ozone Coffee Roasters","id":"tx_00008zjky19HyFLAzlUk7t","category":"eating_out","is_load":false,"settled":true,"merchant":{"address":{"address":"98 Southgate Road","city":"London","country":"GB","latitude":51.54151,"longitude":-0.08482400000002599,"postcode":"N1 3JD","region":"Greater London"},"created":"2015-08-22T12:20:18Z","group_id":"grp_00008zIcpbBOaAr7TTP3sv","id":"merch_00008zIcpbAKe8shBxXUtl","logo":"https://pbs.twimg.com/profile_images/527043602623389696/68_SgUWJ.jpeg","emoji":"🍞","name":"The De Beauvoir Deli Co.","category":"eating_out"}}}Now that the API is configured correctly we need to deploy the API for the changes to take effect. This is done by clicking on Actions->Deploy API, specifying the pre-existing Deployment stage (prod) and clicking Deploy.
We can now test the validation code by hitting our exposed endpoint using -
curl -X POST -H 'Content-Type: application/json' -d '{}' https://BASEURL.amazonaws.com/prod/webhook?token=TOKENIf all goes to plan we should see a lot of validation errors. Weirdly we’ll also still see a 200 HTTP response code despite the error. Mapping the validation errors to appropriate response codes (API Gateway->APIs->mondo-pebble-webhook->Resources->/webhook->POST->Integration Response) is an exercise left up to the reader!
If at any point you get an error {"message":"Missing Authentication Token"}, double check the URL. By default all locations require authentication, only the location we’ve configured won’t so the error basically means not found.
Calling the lambda
The final piece of the puzzle is to configure a new webhook in the Mondo Developer Tools. Click on Register webhook for account, then modify the url in POST data to be the webhook URL from above containing the Pebble timeline token.
Obviously everything will work first time for you but if you find yourself needing to test it, I’d recommend sending a micro-payment to a friend :)
Conclusion
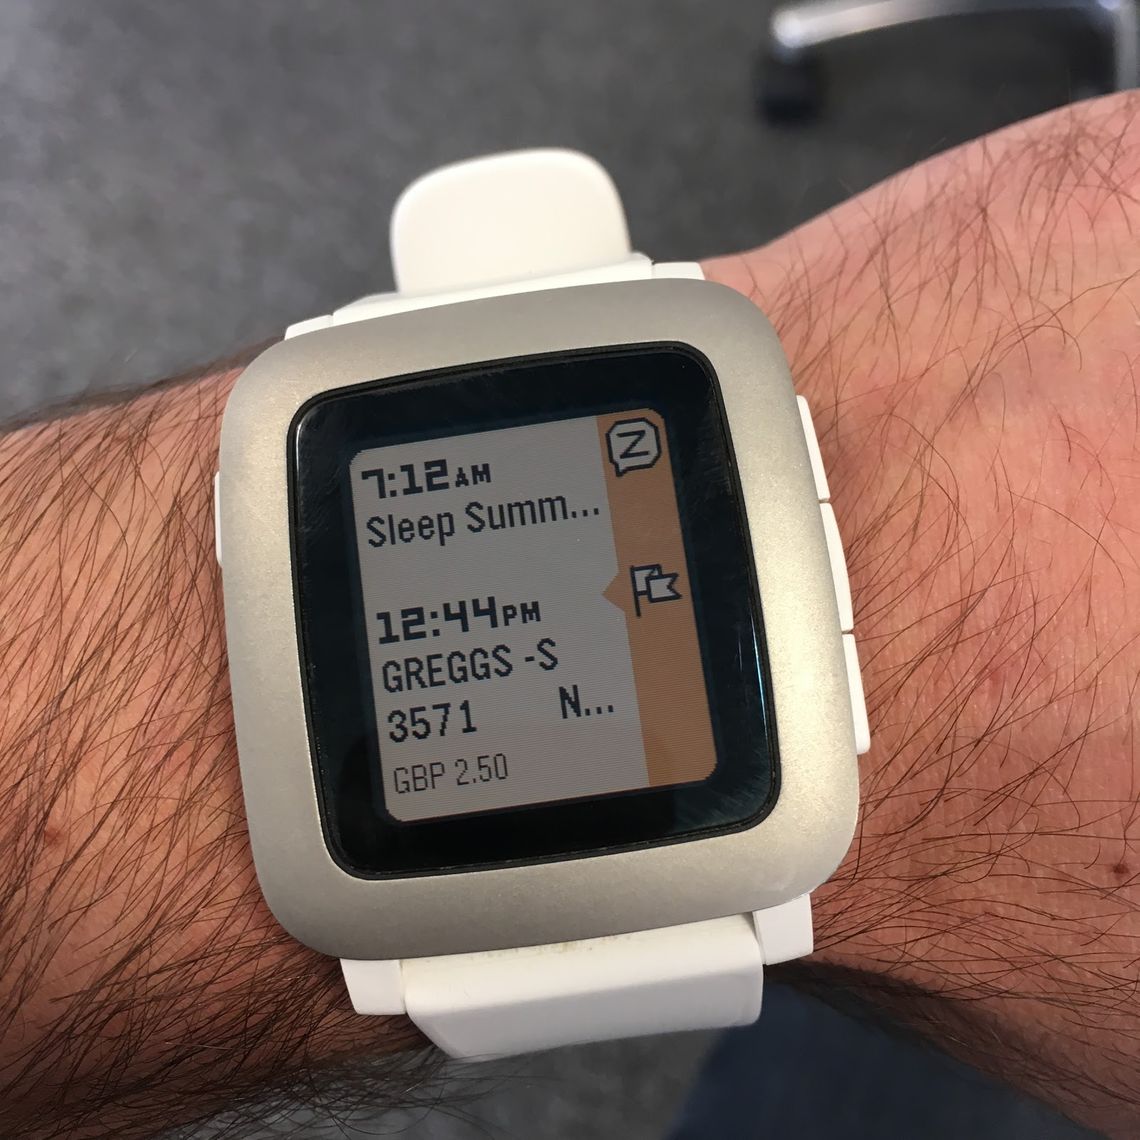
Overall I must say I’m pretty happy with the result -
Although, on the tech side I would probably have done things differently if I was starting again. For example, I’m not sure I would have used AWS Lambda functions had I known how much work I was letting myself in for. Even going to the lengths of wrapping up the code in a container and writing the associated service definition would have been significantly quicker!
For my money AWS Lambda functions are better suited to writing the glue code for AWS internal events like DynamoDB triggers etc. than creating APIs. My use-case was incredibly simplistic, but I’m still really surprised at how complicated it was to get running.
Mondo was almost exactly the opposite. I was really impressed at the simplicity of getting the webhook setup through the Mondo developer console. The API seems rock solid and of the problems I experienced none were with the Mondo API.
A couple of minor niggles were not being able to create synthetic transactions, which would have helped a lot when debugging, and only getting events when transactions were created rather than updated. Fingers crossed something like this gets added in the future.
The Pebble API was a bit of a mixed bag. Firstly, it is really cool to be able to push pins straight to the watch via the API and the ability to trigger HTTP calls from responses is a great idea. There’s also the npm package which is a nice touch and definitely sped up development.
However on the flip side, whilst there is a lot of documentation I found it could be overwhelming in quantity, inconsistent in depth and occasionally out of date. Also, as a developer I’d really like a way to access the API without having to write an app, maybe through the Pebble website?
Hopefully you’ve found this interesting. If you’d like to try it out but don’t fancy setting it all up, ping me on Twitter and I’ll see about opening up my instance. If you are up for the challenge of setting it up on AWS here’s a gist with the code.

