GitHub Apps, previously known as Integrations, were launched yesterday. They make it easier to add automations, services and bots to your repositories, and share these with others.
The GitHub documentation for App development is great at the detail level, however, it can be a challenge to understand exactly which bits you need and how they all connect together. Also, it’s not all that easy to work out how it differs from the ‘old world’ of manually configured webhook and bot accounts.
This blog post describes the development of gifbot, a simple GitHub App, that responds to comments with animated GIFs:
Feel free to install this app in your repo, via this link https://github.com/integration/gifbot.
Apps vs. Bots
Before the addition of GitHub Apps, you could perform automated tasks via the GitHub API. The methods available are extensive, allowing you to automate almost any aspect of your interactions with GitHub. You can perform a very limited set of operations without authentication, but for any non-read operation you need to generate a personal access token from your GitHub account. This token, which accompanies all the API requests, allows the bot to perform actions using your identity.
Most automation tasks will be triggered via a webhook, a URL that is registered for invocation when certain events happen (e.g. issue created, comment created). Combining webhooks and the API allows bots to perform a whole range of automation tasks.
However, this method of integration does have a number of limitations if you’re trying to build a bot for others to use. These include:
- The personal access token is ‘personal’, which means the bot assumes your identity.
- You must have suitable permissions for any repo that your bot works on, which might mean you need adding as a collaborator.
- Webhooks, and their required permissions, have to be added manually to each repo that uses the bot.
- Authenticated users have a rate limit applied to their API usage, at 5,000 requests per hour. This limits how popular your bot can become!
You can create another GitHub account for your to provide a different identity, although you are only permitted one user and one bot account. This solves the first issue, but the others still remain.
Here are a couple of example bots:
- mention-bot - a Facebook bot for mentioning potential reviewers.
- ReadmeCritic - a bot that performs various tasks that tidy up readme files.
The above bots create Pull Requests and add comments, so don’t require write access to the repos that they operate on.
Another example of a bot-like services, is semantic-release which automates your release process (to npm and GitHub). Because of the complexity involved in setting up webhooks and creating access tokens (this bot does require write access), semantic-release has a CLI tool that automates configuration.
GitHub Apps recently moved from pre-release (under the name Integrations) to public release, just yesterday. They allow developers to perform automation and create bots that use the same GitHub API, but with a few advantages:
- Apps have their own ‘identity’, so you no longer need to create bot accounts
- There is a web-based workflow that allows users to add Apps, review the requested permissions, and apply them to multiple repos / organisations.
- The webhook used by your App is only configured once.
- The 5,000 request rate-limit still applies, but this is per-installation.
Github Apps are clearly the way forward!
In the rest of this blog post I’ll look at the process of creating a GitHub bot, and how to convert it into an App.
Building a Bot
The bot I’ve built for demonstration purposes is hosted on AWS as a Lambda function, if you’re interested in how to develop, package and deploy to AWS, see my previous blog post. In this post, I’m going to just stick to the code!
gifbot responds to webhook events which are raised when comments are added to a repo. Its logic is pretty simple, finding comments with the magic text [gifbot:search], using Giphy to find an appropriate (and sometimes inappropriate!) GIF, then post a reply.
The following code uses a little wrapper around the request node module to create a promise-based interface, and defines a couple of functions, one that searches Giphy, the other that posts a comment:
const requestp = require('./requestAsPromise');

const searchGifs = (searchTerm) =>
  requestp({
    url: 'http://api.giphy.com/v1/gifs/search',
    json: true,
    qs: {
      q: searchTerm,
      api_key: 'dc6zaTOxFJmzC'
    }
  });

const addComment = (url, body, token) =>
  requestp({
    json: true,
    headers: {
      'Authorization': 'token ' + token,
      'User-Agent': 'ColinEberhardt',
      'Accept': 'application/vnd.github.machine-man-preview+json'
    },
    method: 'POST',
    url,
    body: {
      body
    }
  });
The various headers and keys required by each API are described in their respective documentation, I’ll not go into the details here. You can see that while Giphy permits anonymous requests, GitHub requires an access token.
With these functions defined, the logic that handles the webhook is really quite simple:
const regex = /\[gifbot:(.*?)\]/g;
const accessToken = process.env.GITHUB_ACCESS_TOKEN;
exports.handler = ({ body }, lambdaContext, callback) => {
// 1. Check whether this is an action that adds a comment
if (body.action !== 'created') {
callback(null, {'message': 'ignored action of type ' + body.action});
return;
}
// 2. See whether any '[gifbot:search]' text appears in the comment
const matches = regex.exec(webhook.comment.body);
if (!matches) {
callback(null, `The comment didn't summon the almighty gifbot`);
return;
}
const searchTerm = matches[1];
// 3. Search Giphy
searchGifs(searchTerm)
.then((results) => {
// 4. Get the first match and add a comment
const gifUrl = results.data[0].images.fixed_height.url;
comment = ``;
return addComment(body.issue.comments_url, comment, accessToken);
})
.then(() => callback(null, 'added comment'))
.catch((err) => callback(err.toString()));
};
I think the comments in the above code are pretty self-explanatory! You’ll notice that the access token is being supplied externally as an environment variable.
In order to bring this bot to life, you need to do three things:
- Deploy it to somewhere suitable, I’m using AWS, but you could equally well deploy to Heroku or other node hosts.
- Create a personal access token from your GitHub account, or a dedicated bot account. When creating a token you define scopes, which allow you to restrict the functions a bot can perform. In this case only the
public_reposcope is required. - In order to integrate the bot into a project, navigate to Settings / Webhooks and add a webhook that points to the deployed location of your bot. At this point you can be selective about the types of event your webhook receives.
That’s quite a bit of configuration effort, especially as steps 2 & 3 need to be repeated for each repository that the bot is integrated with.
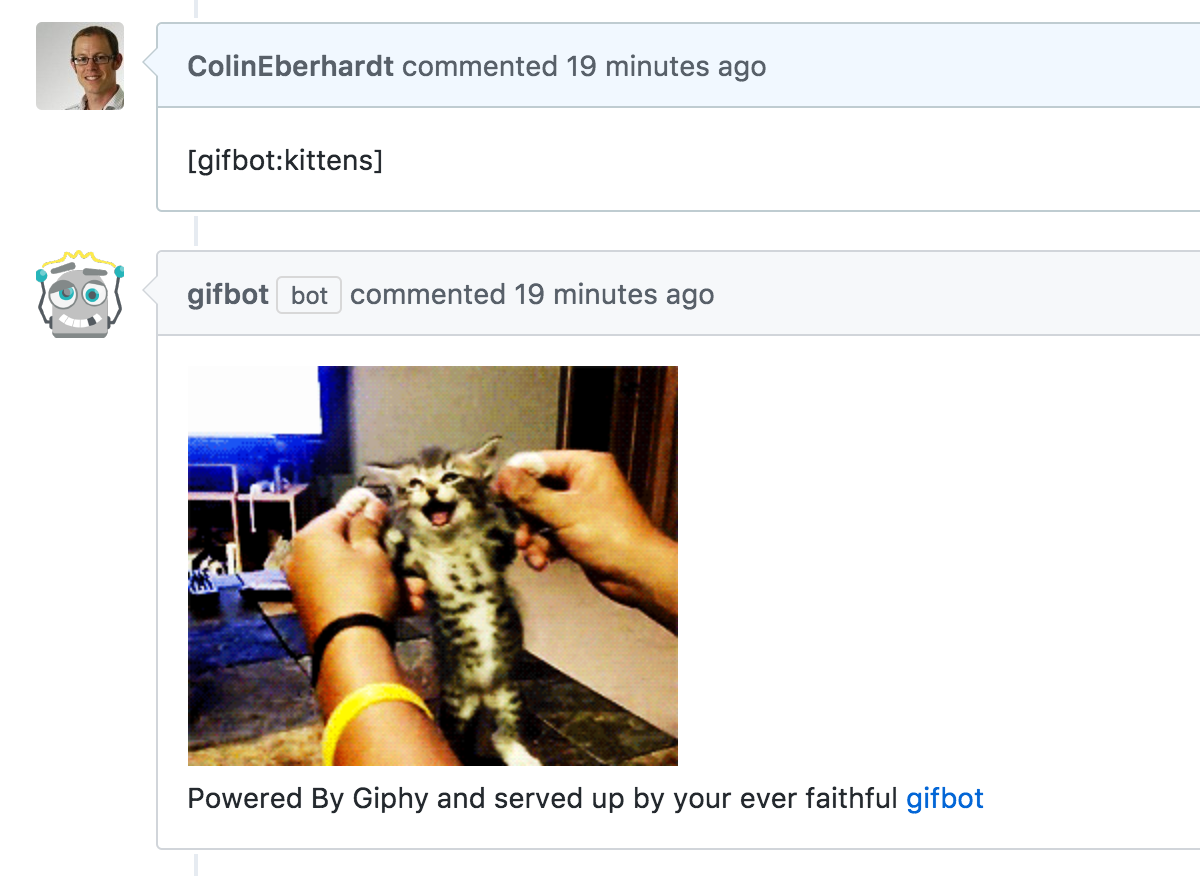
Once configured, this bot dutifully serves up animated GIFs on demand:
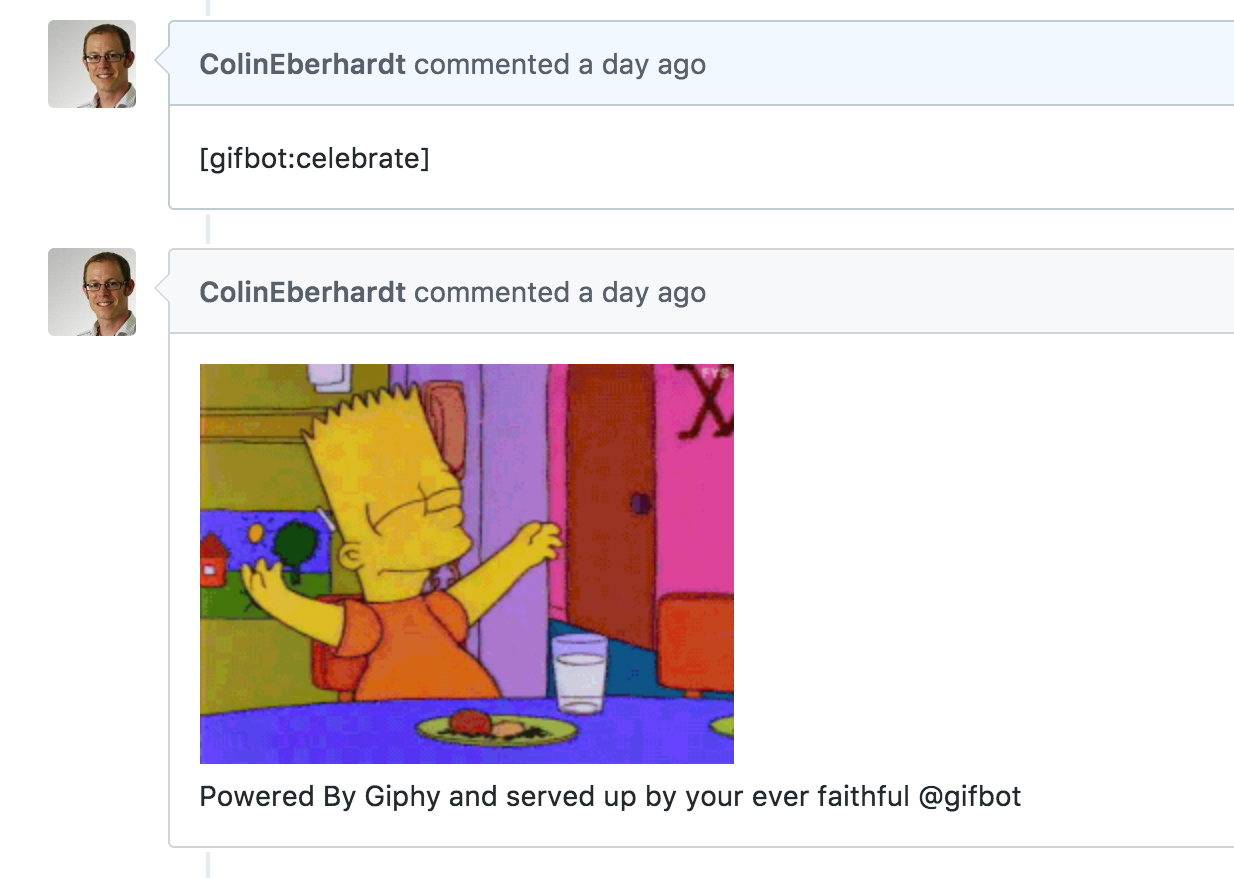
Notice that the bot in the above image is using my identity, which is not ideal.
Creating an App
You can create new Apps via Settings / Developer Settings / GitHub Apps. The process is pretty straightforward, requiring a bit of form-filling, e.g. name, description, homepage. You also specify a Webhook and the permissions your App requires when it is installed. This covers the information detailed in steps 2 & 3 above, but in a centralised fashion.
Once your App is created you can share it via a public link. For example, gifbot is shareable via https://github.com/integration/gifbot.
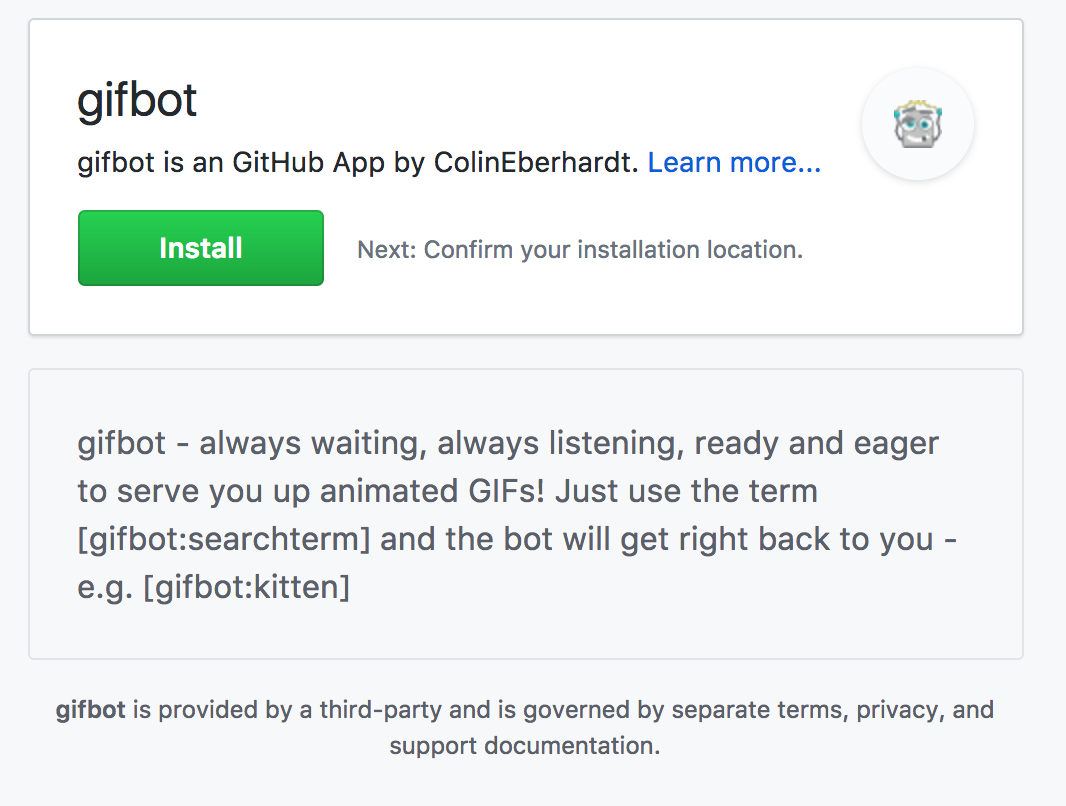
This page gives end users a chance to review the features of your bot / App and the option to install it. When they click the Install button they get to review the requested permissions in more detail and can decide which repos this App will be integrated with:
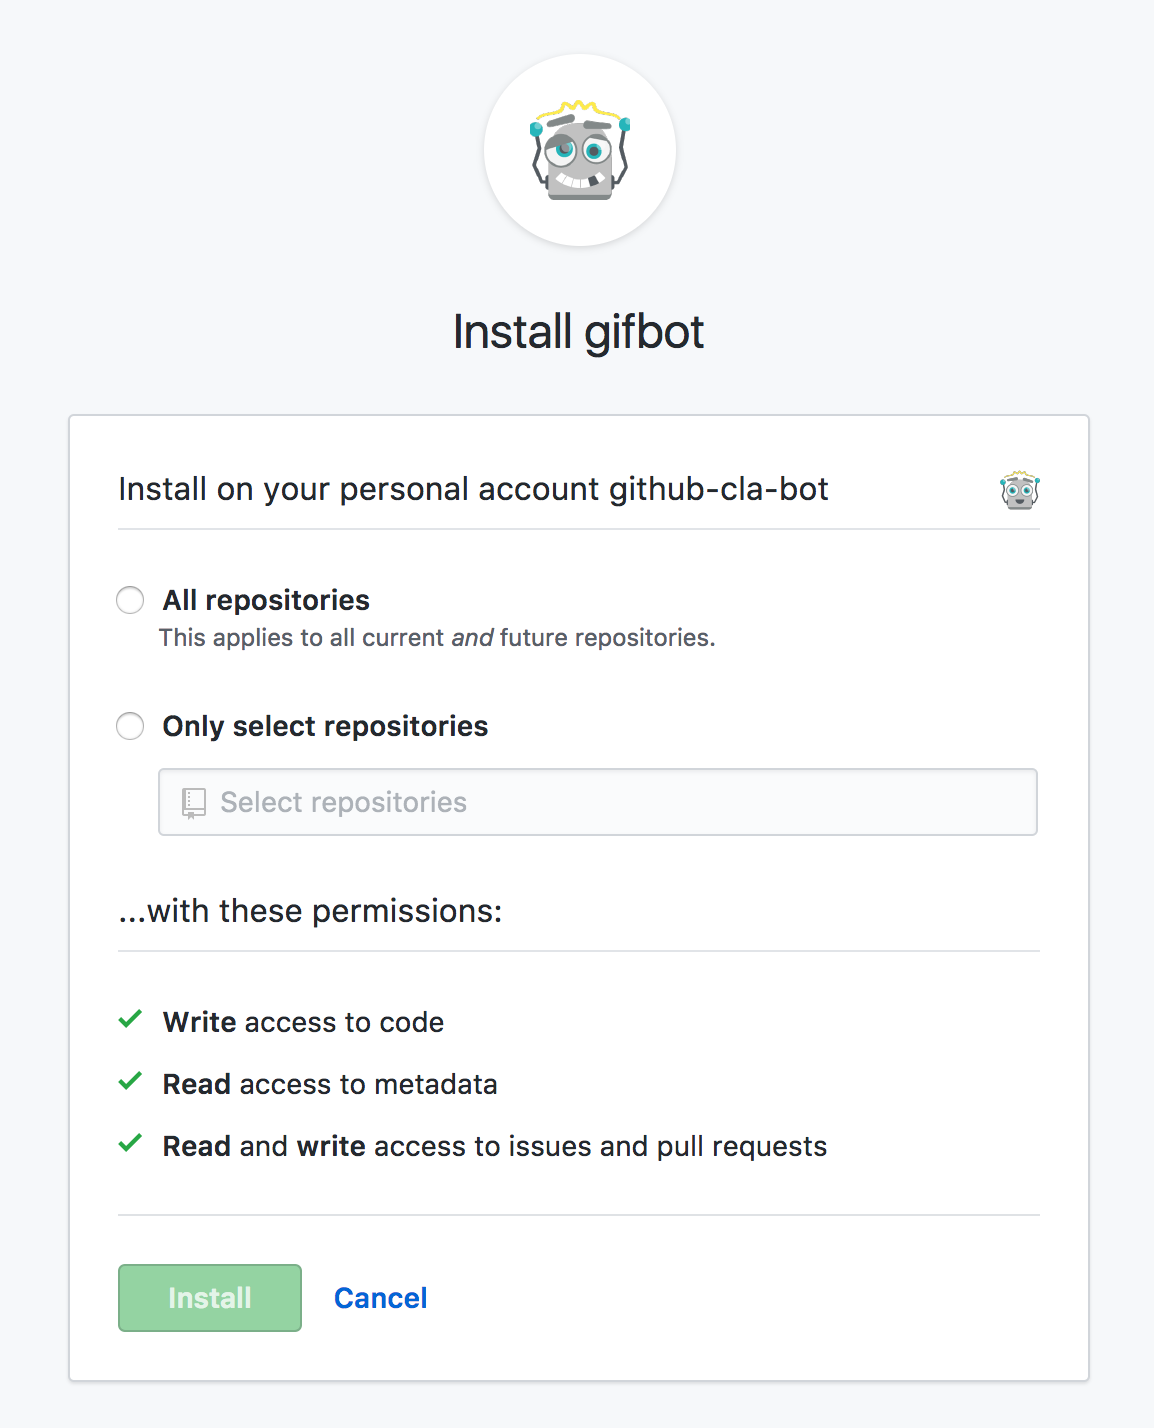
As you can see, this approach allow the installation of the bot across many repositories with a single click. Also, if the user has suitable administration permissions, they can also install it across multiple organisations.
Once a user installs the App, you’ll start to receive webhook events. These are just the same as the webhook events described previously, with an important addition, each event also contains an installation ID:
{
  "action": "created",
  "issue": {
    ...
  },
  "installation": {
    "id": 26269
  }
}
As the name implies, each time a user installs your App, a new and unique installation is created. The API usage rate limits are applied independently for each installation.
App Authentication Flow
Now that the App is created and installed, the bot needs to be updated with a different authentication / authorisation workflow. Instead of a personal access token, which is associated with a GitHub user (or bot) account, you’ll need to obtain an installation access token, which is associated with a unique installation.
The process for obtaining this token involves creating a JSON Web Token (JWT) that asserts the ‘claim’ that the request is coming from the App. To make this claim you need two pieces of information, the first is the ID of this App, which is displayed in the settings page, and a private key, which you can generate and download from the settings page.
Using this information, you create a token, with the iss property indicating the identity of this App, which is then signed using the private key. I’m using the jsonwebtoken package to create the JWT, but any library that complies with the specification should work.
const fs = require('fs');
const jwt = require('jsonwebtoken');
const appId = 2429;

const cert = fs.readFileSync('gifbot-private-key.pem');
const token = jwt.sign({ iss: appId },
  cert, {
    algorithm: 'RS256',
    expiresIn: '10m'
  });
Once the JWT has been created, the /installations/${installationId}/access_tokens API method is used to request a token for the given installation:
const requestp = require('./requestAsPromise');

const installationToken = (installationId) => requestp({
  url: `https://api.github.com/installations/${installationId}/access_tokens`,
  json: true,
  headers: {
    'Authorization': 'Bearer ' + token,
    'User-Agent': 'ColinEberhardt',
    'Accept': 'application/vnd.github.machine-man-preview+json'
  },
  method: 'POST'
})
.then(({token}) => token);
Here’s an example response:
{
  token: 'v1.3cd2ef6a62...............e062bd73',
  expires_at: '2017-05-21T22:12:38Z'
}
Using this token will allow the App to perform operations, with the requested permissions, for the given installation.
Integrating this logic into the bot is very simple. Currently it makes a single API request, using a personal access token, as follows:
return addComment(issueOrPull.comments_url, comment, accessToken);
This can be updated to obtain the installation access token, then use this for subsequent API requests:
return installationToken(body.installation.id)
       .then((token) => addComment(issueOrPull.comments_url, comment, token));
From the end-user perspective, the App works just the same as the webhook integrated version:
However, the App now has it’s own identity, and is clearly labelled as a ‘bot’.
And that’s it! Once you’ve obtained the installation token you can use any of the API methods that you’ve been granted permission to use.
Conclusions
Hopefully you’ve found this a useful introduction to GitHub Apps. There are a number of bots, tools and integrations I’ve worked with on GitHub that I think would benefit fro being converted to Apps. I look forward to seeing many more of these in future!